Instant Pot KING Cake Cheesecake Recipe + (Oven Method)

February 24, 2020Van
Blog post

Prep time: 30 minutes

Cook time: 40 minutes

Serves: 8

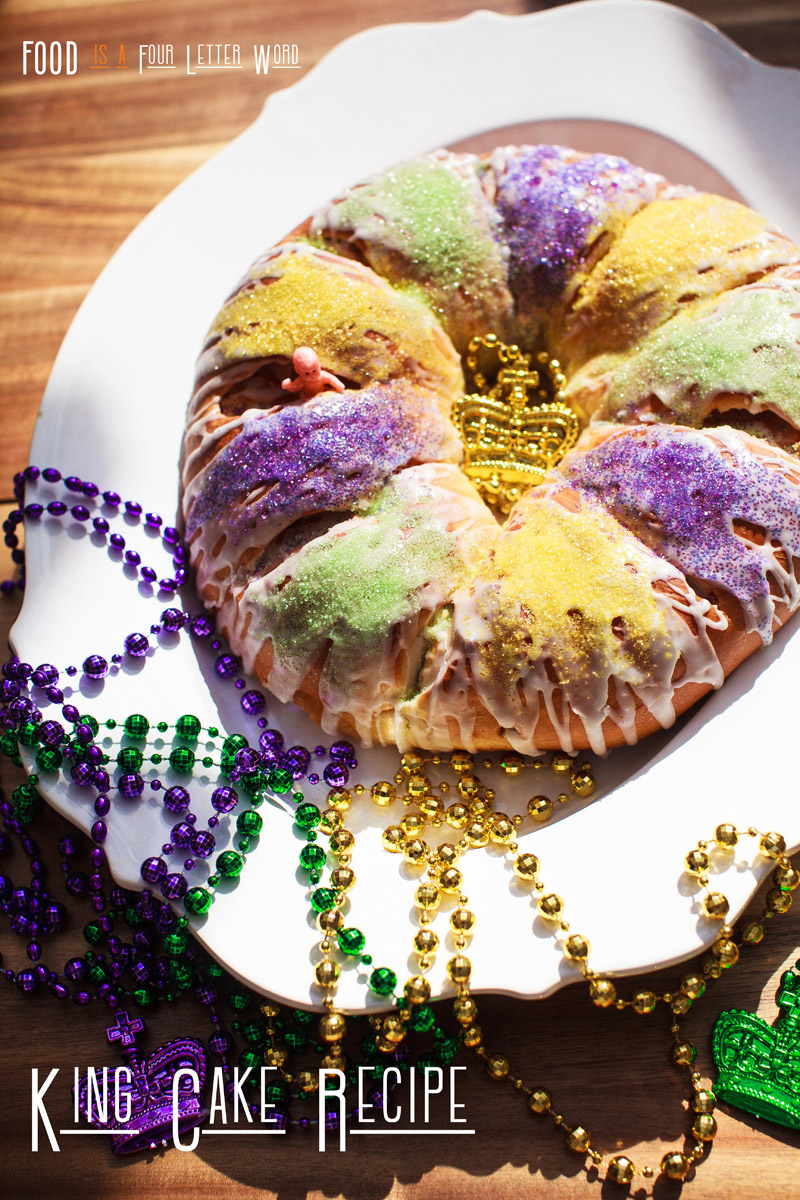
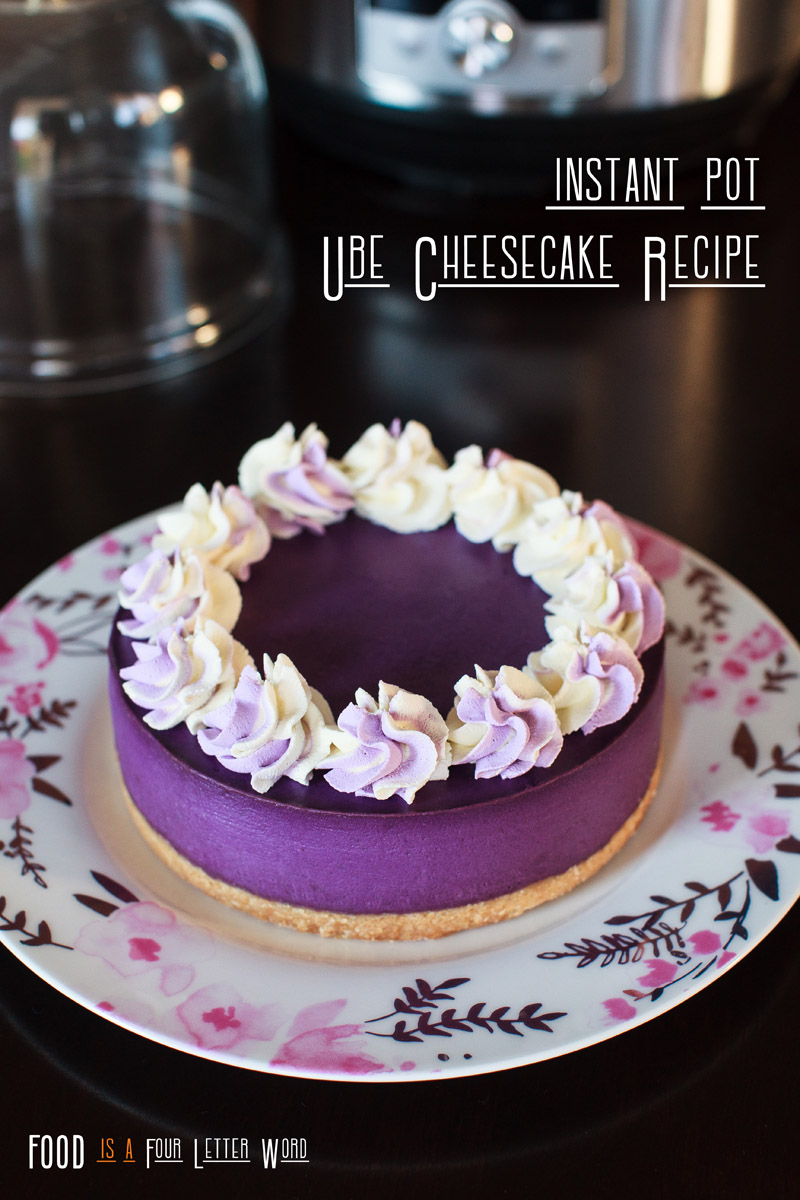
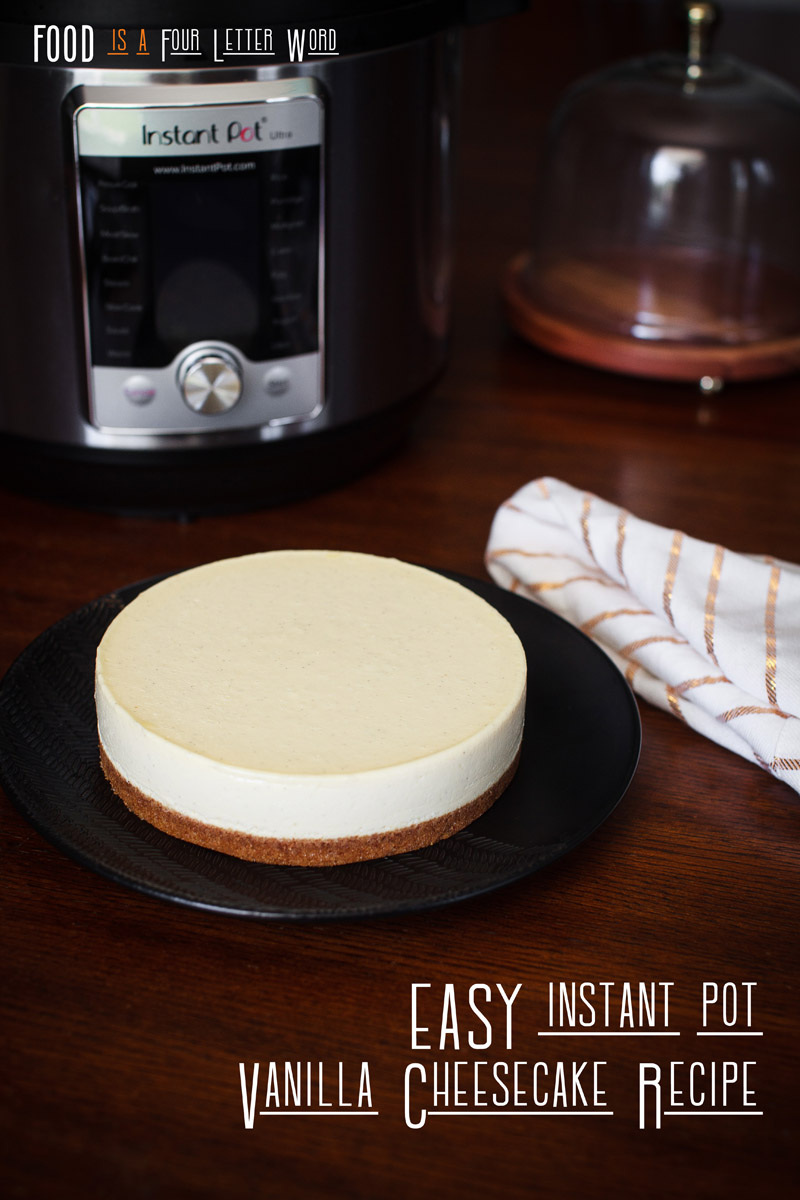
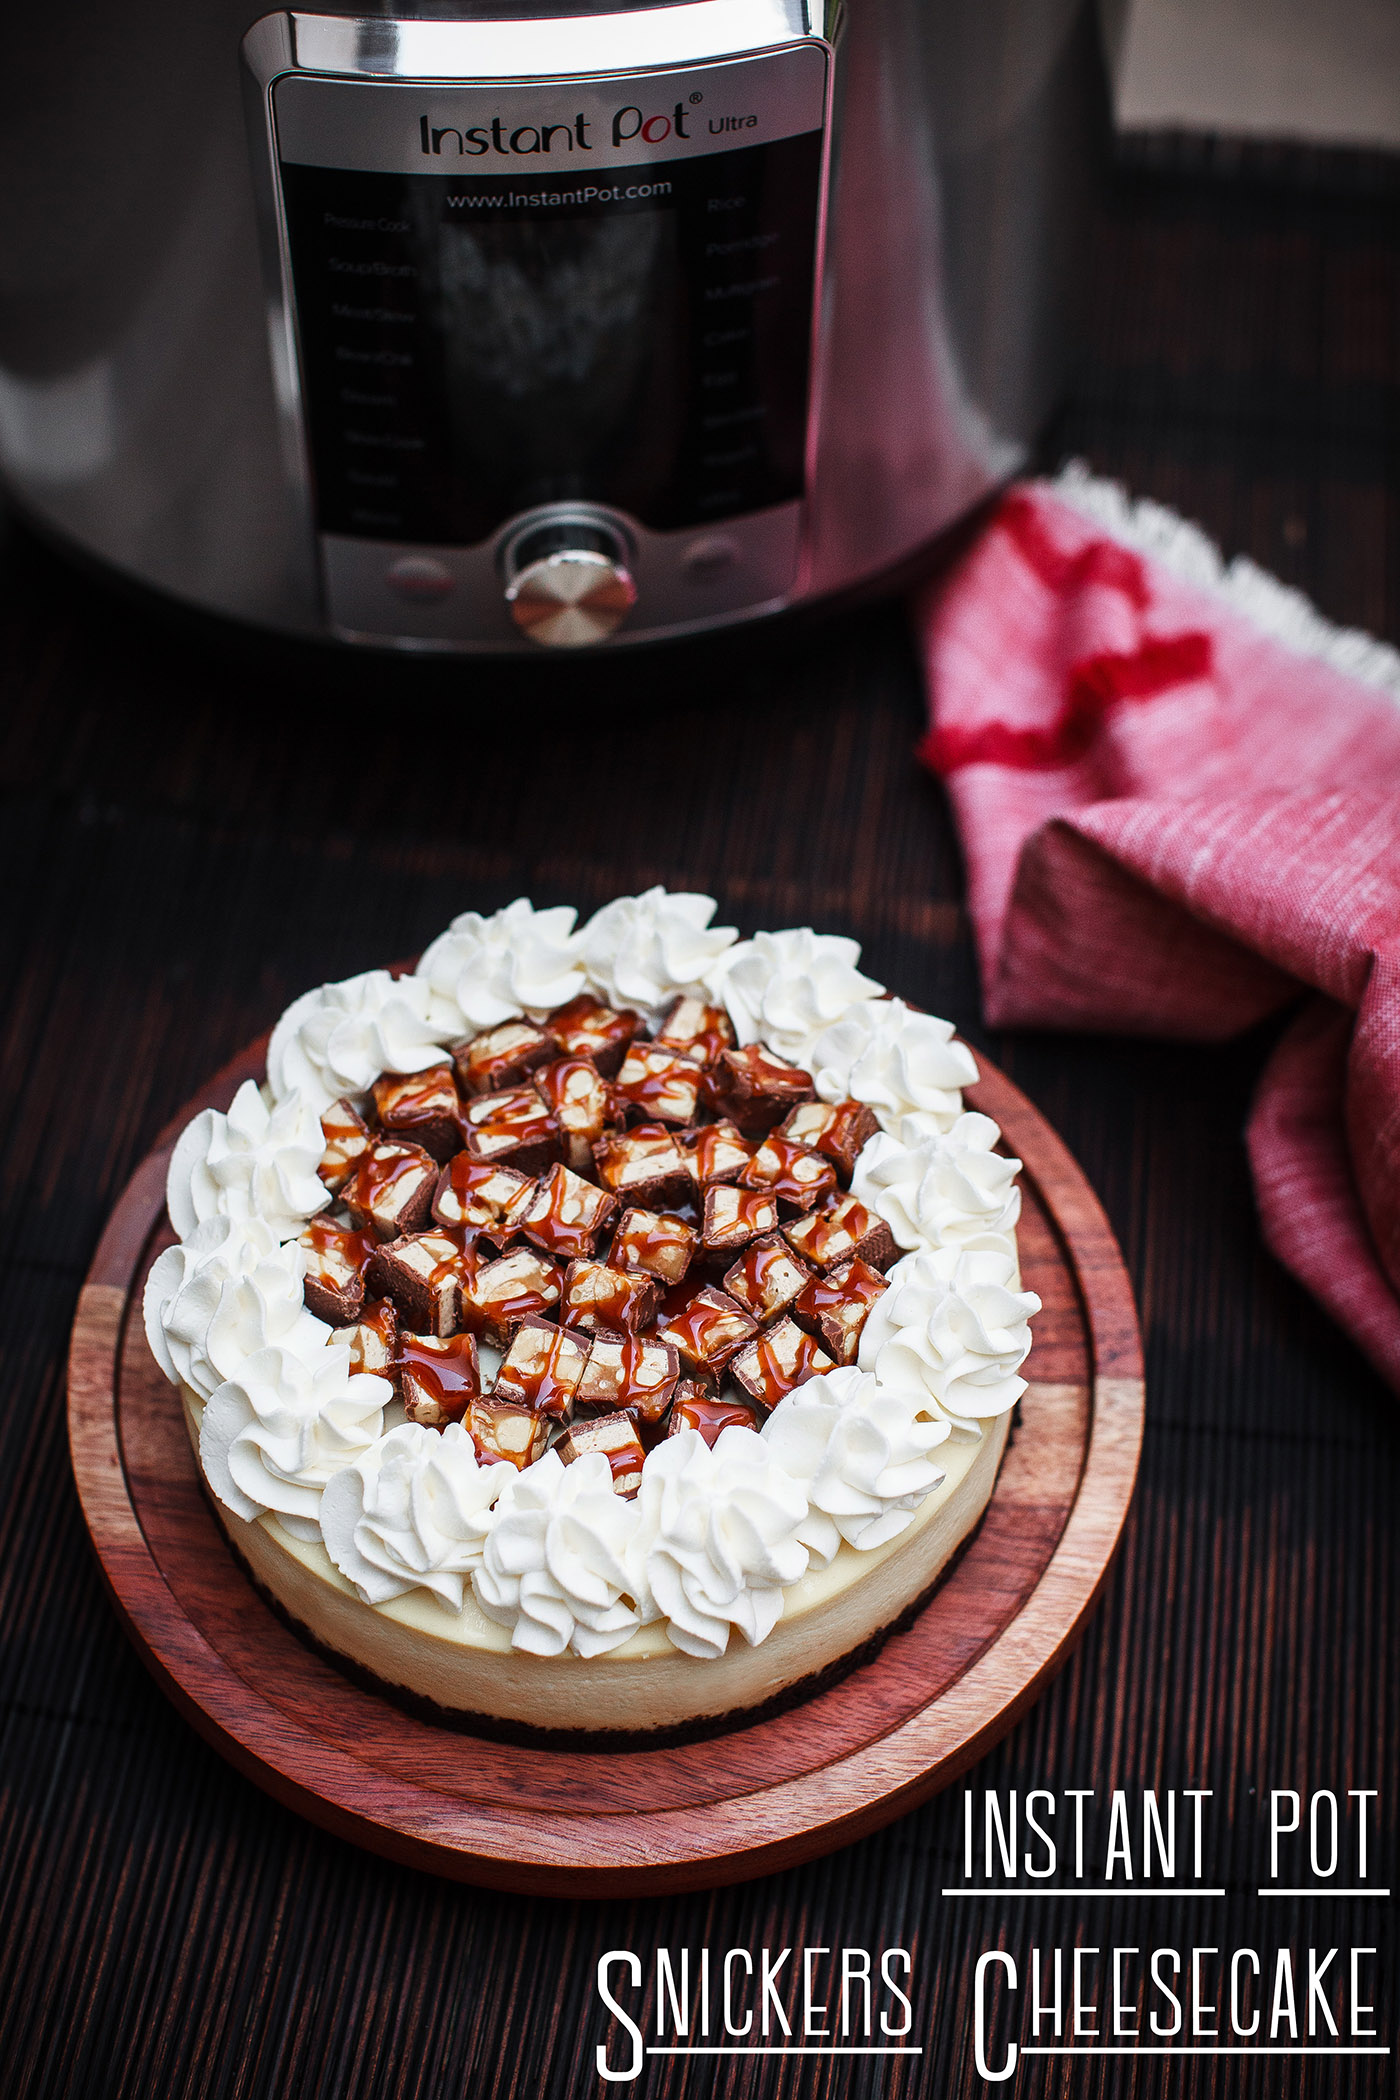
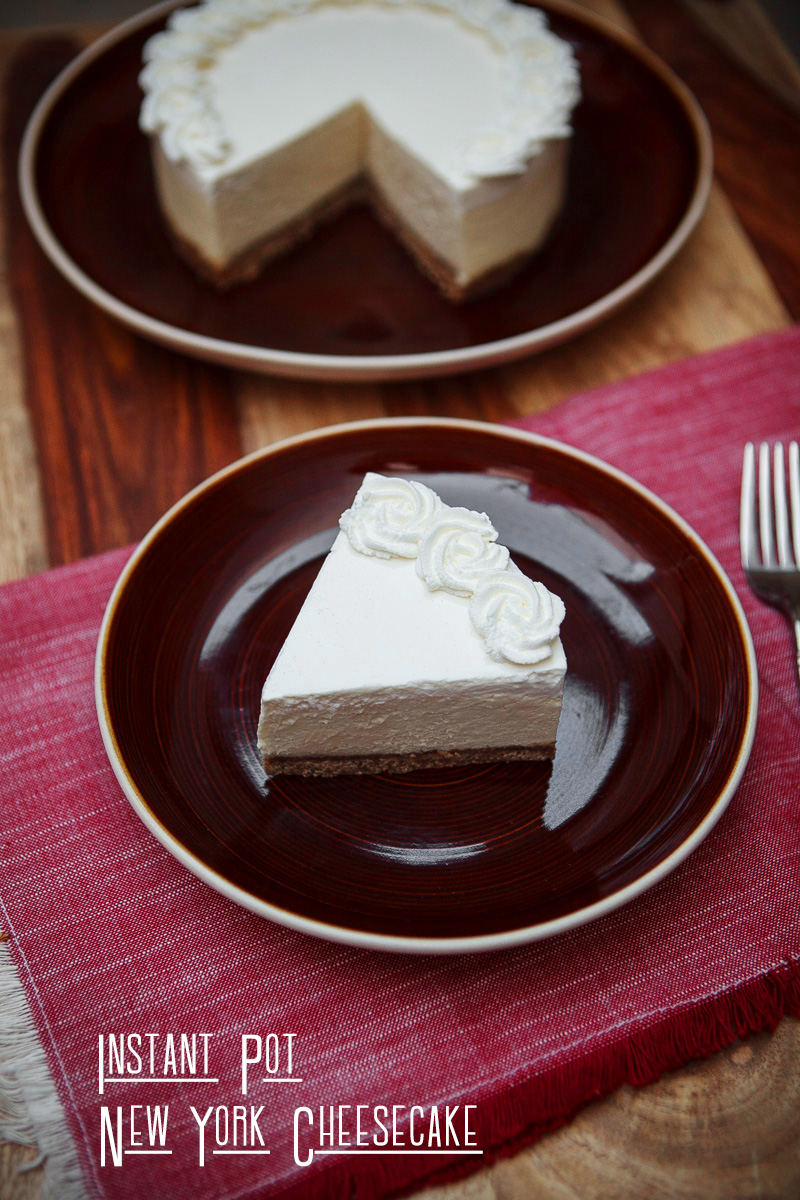
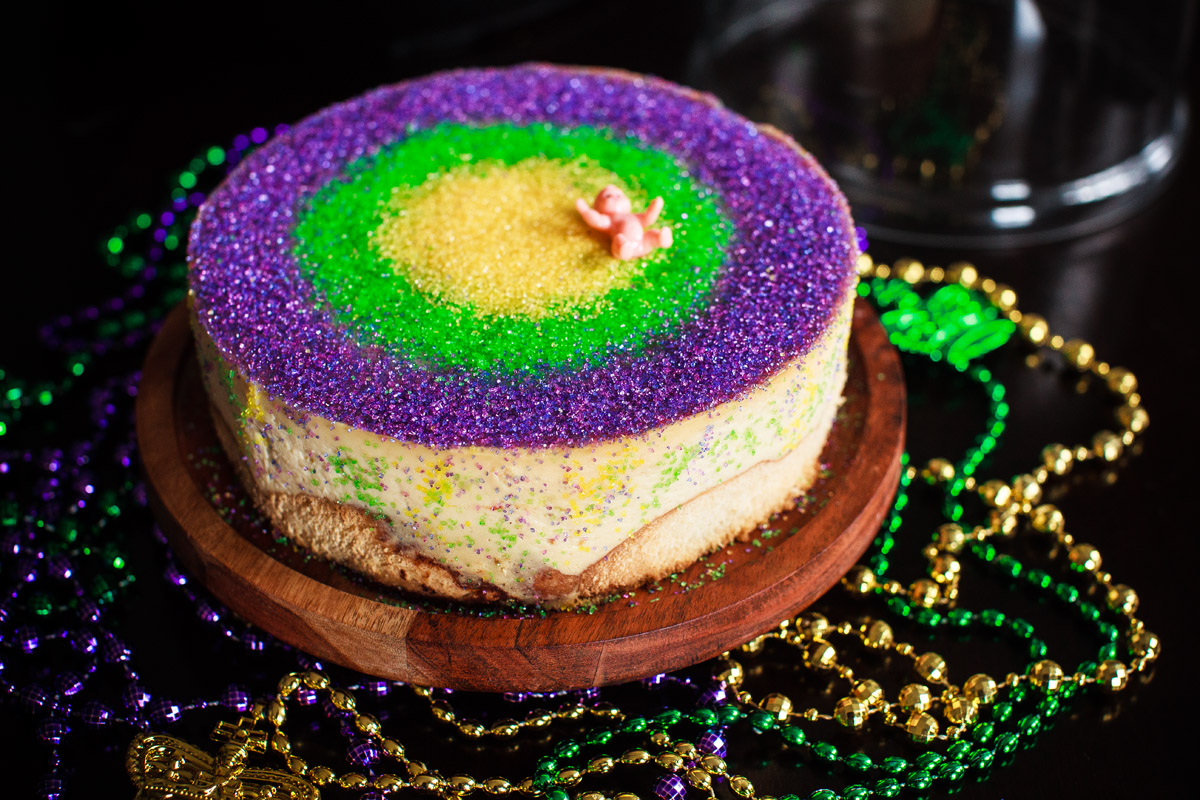
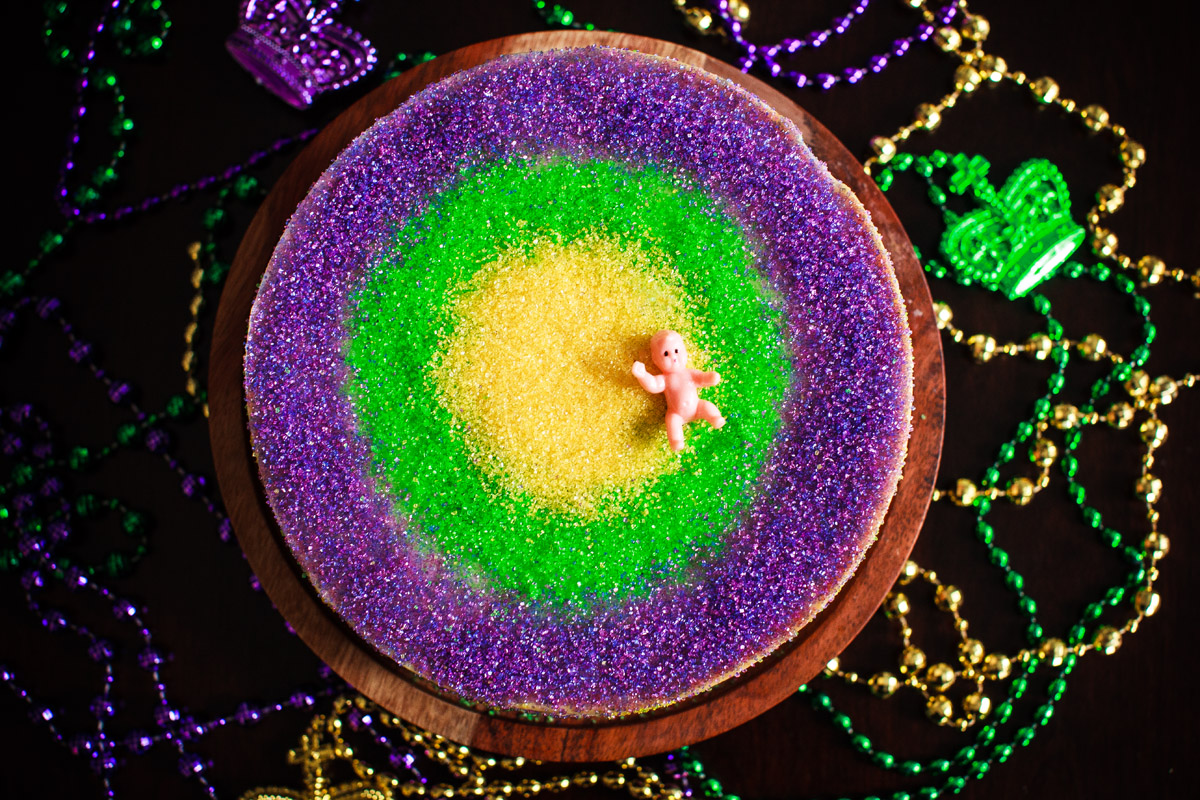
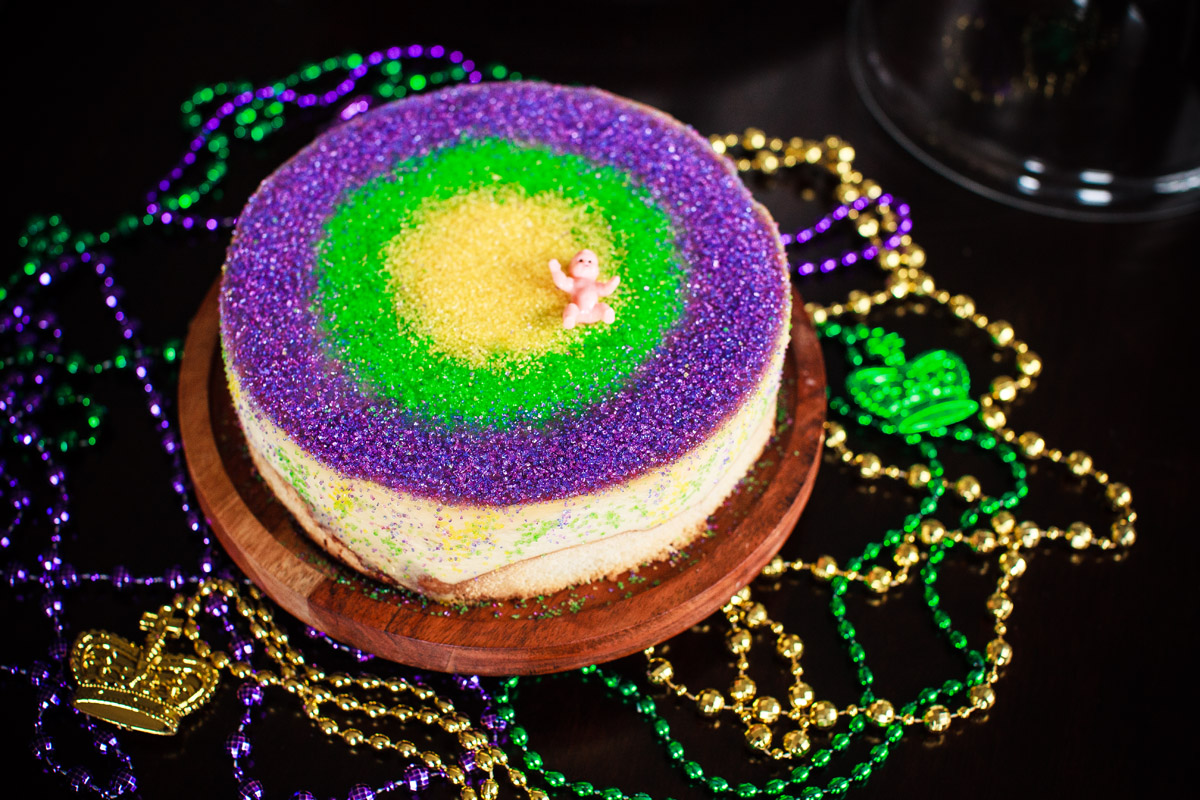
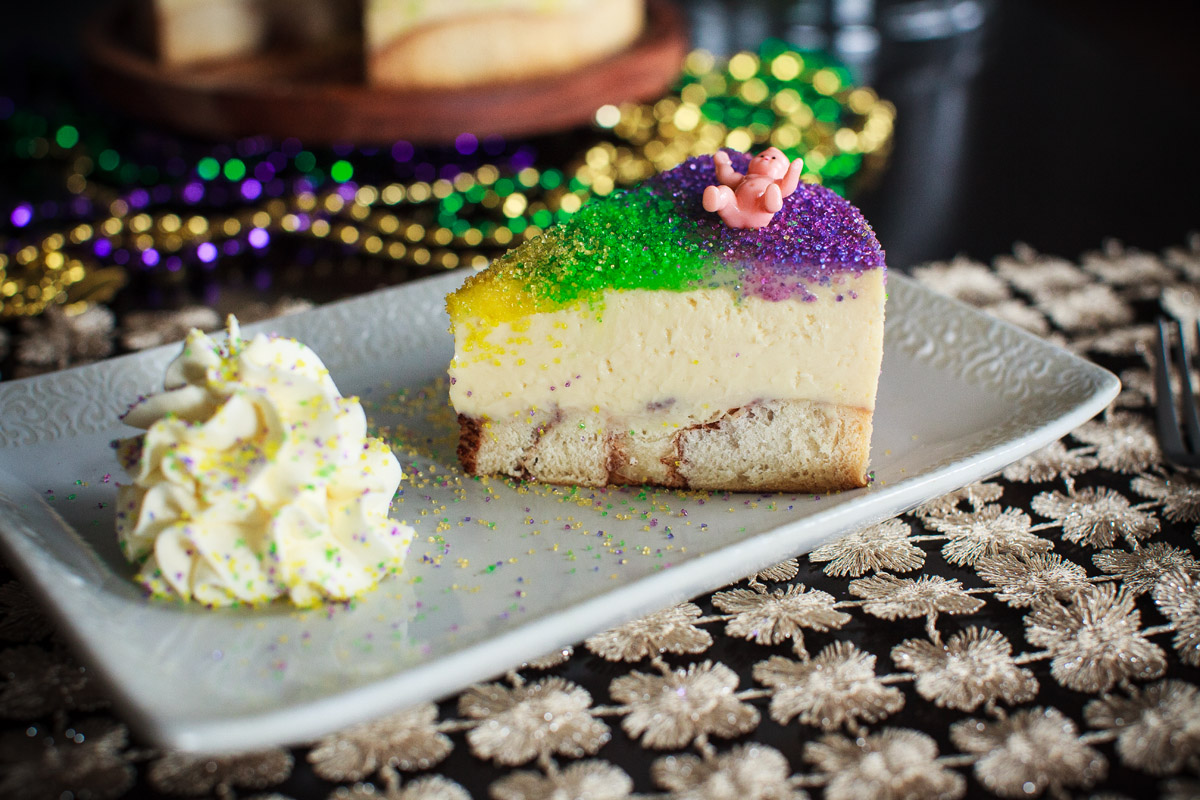
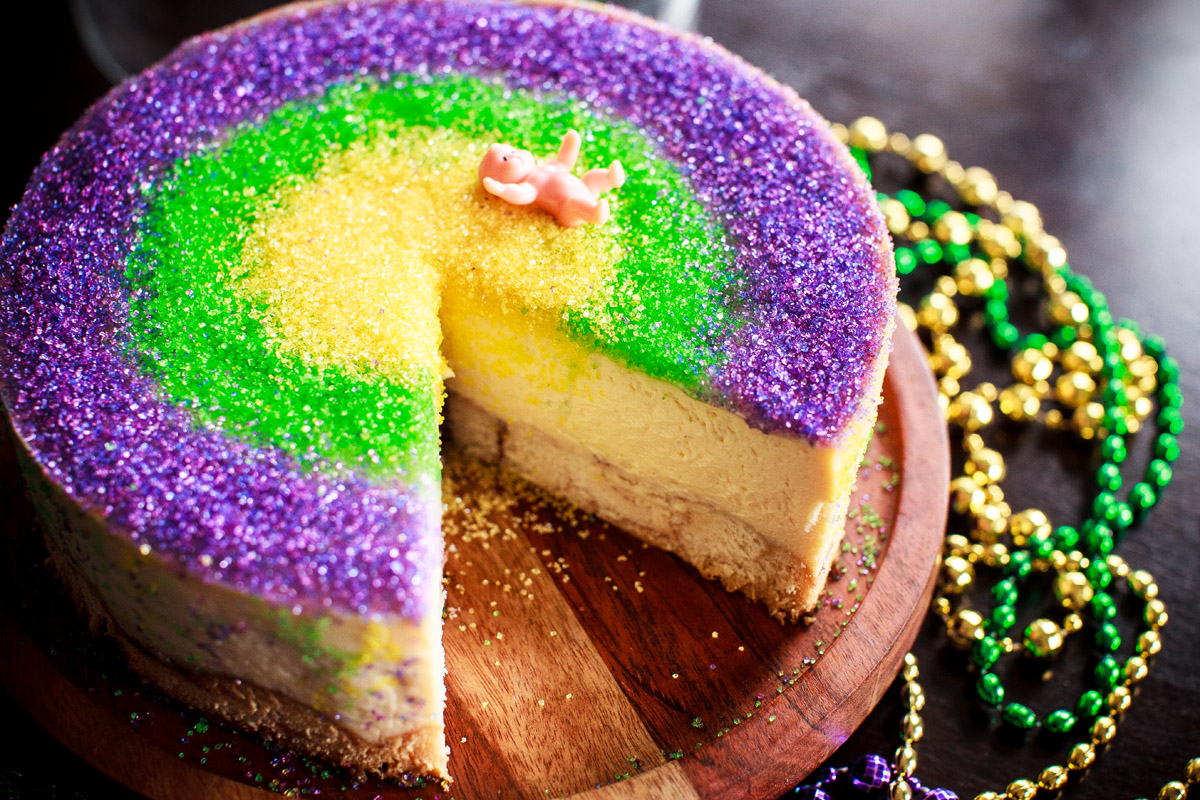
If you love celebrating Mardi Gras with a King Cake, then this cheesecake is for you!!! All the flavors and visual appeal of a King Cake transformed into a beautiful, creamy cheesecake with a cinnamon roll crust. I hope everyone enjoys Fat Tuesday with this slice of deliciousness.

If you’re looking for my Traditional King Cake Recipe, check it out here and use the Instant Pot to proof your dough.

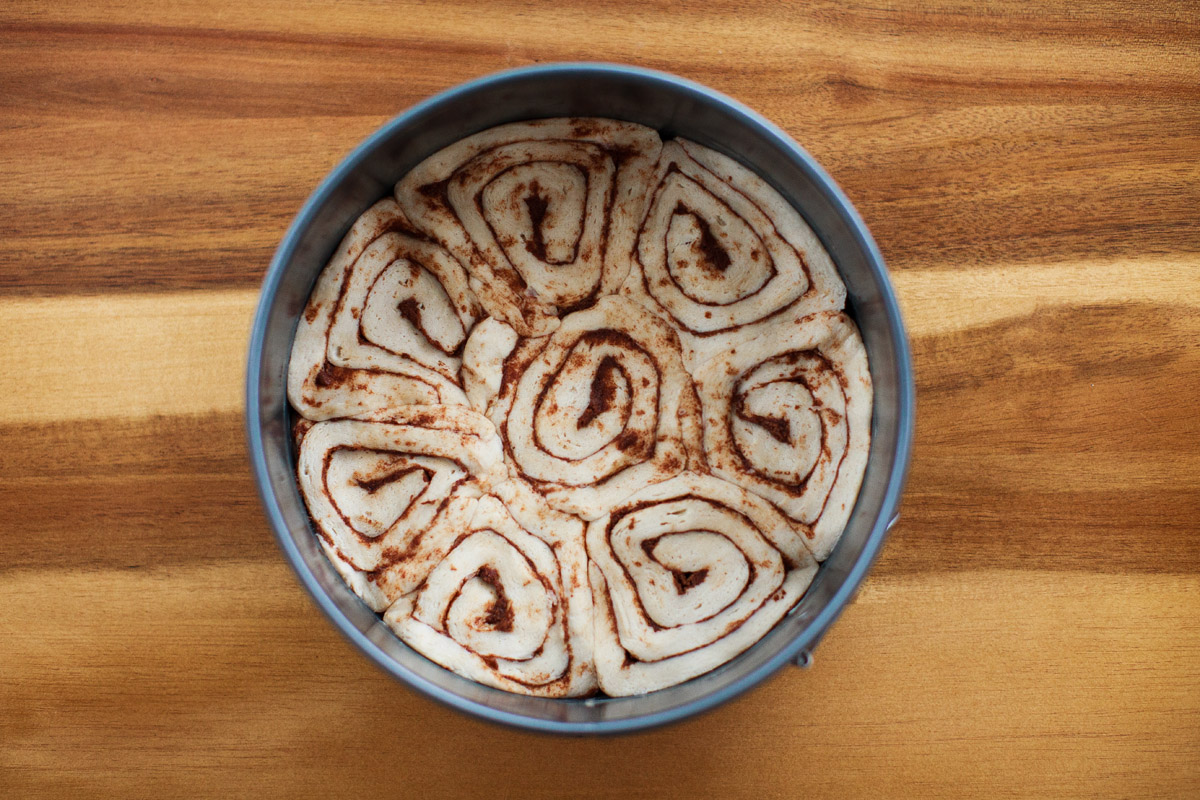
Use Annie’s Organic Cinnamon Rolls to make an easy crust, out of all the canned rolls, Annie’s had the best texture and flavor.Instant Pot KING Cake Cheesecake Recipe + (Oven Recipe)

Instant Pot KING Cake Cheesecake Recipe + (Oven Recipe)

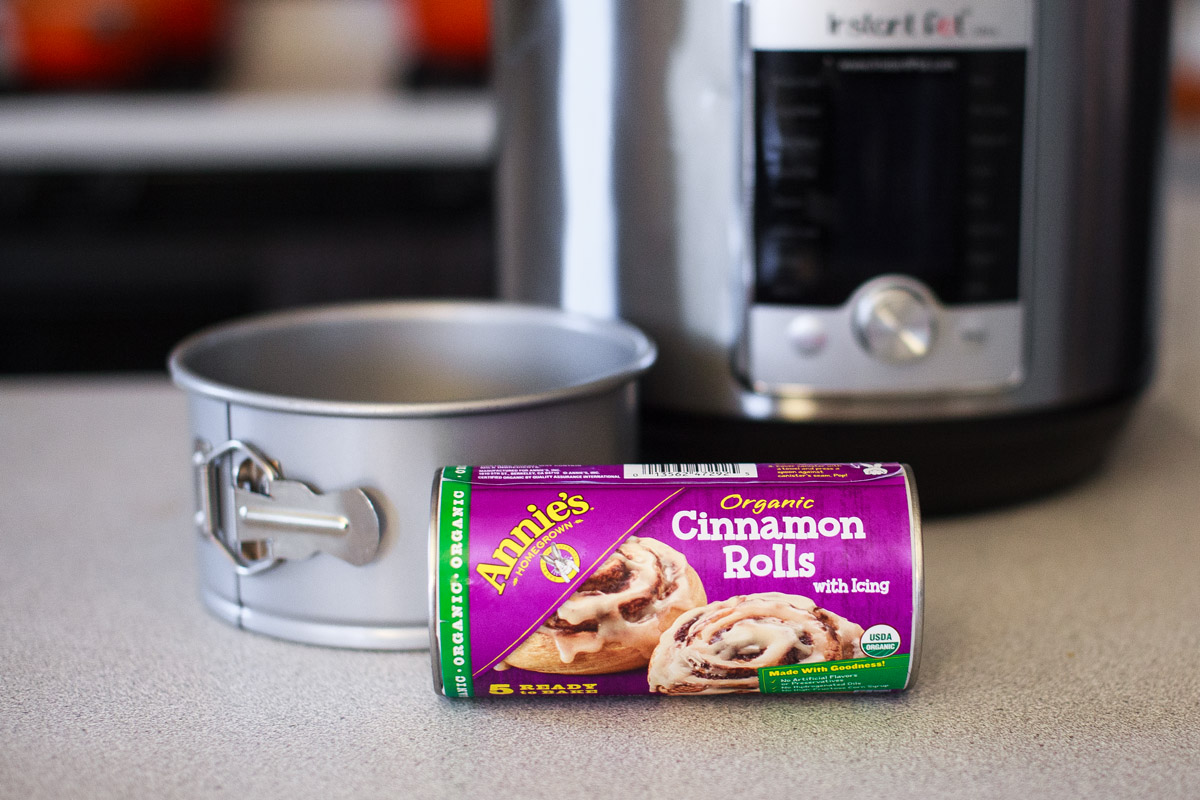
This silicone sling makes is very easy to load and lift out the cheesecake pan (purchase here).
Instant Pot Peanut Butter Cheesecake Recipe with Nutter Butter Crust

Instant Pot KING Cake Cheesecake Recipe + (Oven Recipe)

Instant Pot KING Cake Cheesecake Recipe + (Oven Recipe)

Instant Pot KING Cake Cheesecake Recipe + (Oven Recipe)

Instant Pot KING Cake Cheesecake Recipe + (Oven Recipe)

Instant Pot KING Cake Cheesecake Recipe + (Oven Recipe)

Instant Pot KING Cake Cheesecake Recipe + (Oven Recipe)

Instant Pot KING Cake Cheesecake Recipe + (Oven Recipe)

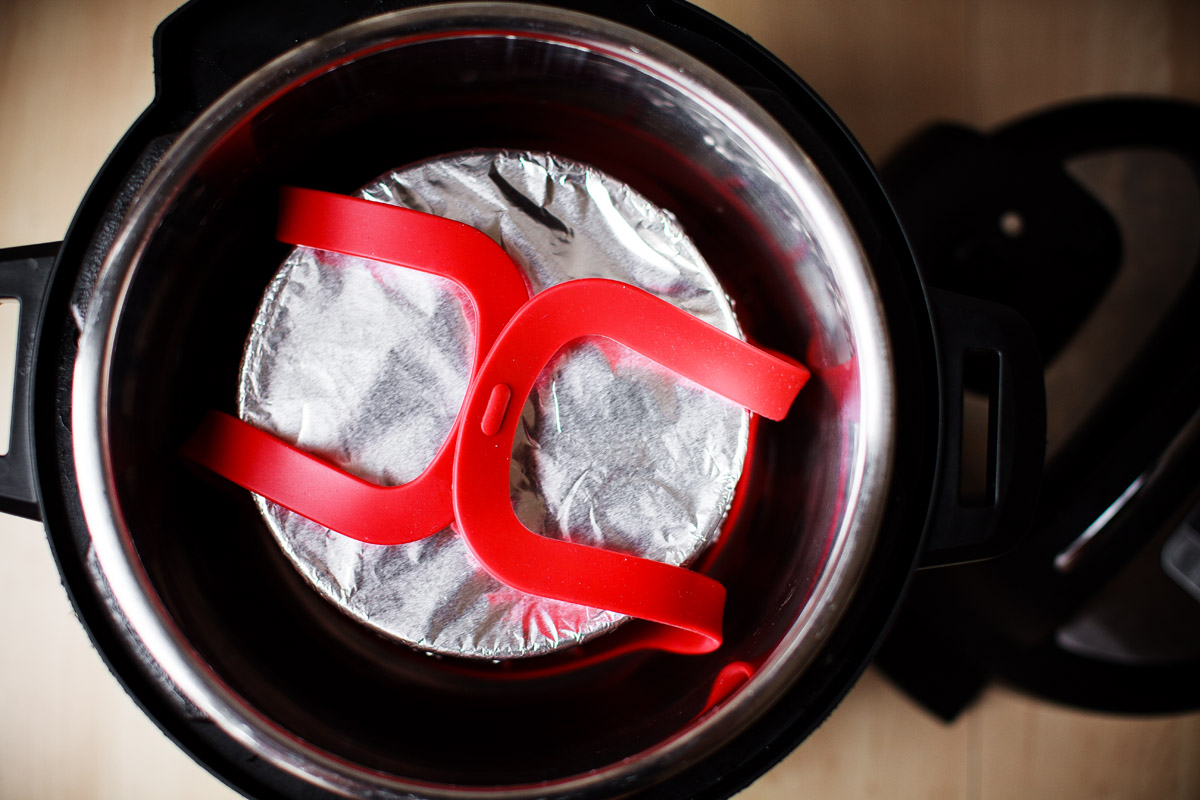
Be sure to click on the accessories list below to get the most out of your Instant Pot.
Best Instant Pot Accessories List

Print Recipe

Instant Pot KING Cake Cheesecake Recipe + (Oven Method)

  • Prep time: 30 minutes
  • Cook time: 40 minutes
  • Serves: 8

www.foodisafourletterword.com

King Cake Cheesecake with Cinnamon Roll Crust Recipe for Instant Pot + Oven

Ingredients

  • 16 oz Cream Cheese (2 blocks)
  • 1 Cup Sweetened Condensed Milk
  • 2 Large Eggs
  • 2 Teaspoons Vanilla Extract
  • 1 Teaspoon Lemon Juice
  • 1 Teaspoon Cornstarch
  • Annie’s Organic Cinnamon Roll Can
  • Yellow, Green & Purple Sanding Sugar
  • 7 inch non-stick Springform Pan

Method

  • 1)

    Pre-heat your oven to 350°F. Trace the bottom of your 7 inch pan on parchment paper and cut out the circle to line the bottom of the pan.  Use butter to grease the the interior side of the pan very well. Open the can of Annie’s Organic Cinnamon Rolls, use a bread knife to cut 4 of the rolls in half so they are ½ inch thick rolls. Place the rolls into the bottom of the pan, reshape them so all 8 rolls can fit, then press them down so it’s an even layer. Save the bag of icing for later use & store it in the refrigerator. Place the pan into the pre-heated oven and bake for 18 minutes. Remove when done and let it cool to room temp. Once it’s cool, butter the sides of the pan well again.

    ***There is 1 extra roll that doesn’t need to be used for the crust, I just placed it onto a small baking tray and baked it along with the crust and had it as a snack.

  • 2)

    Fill a large bowl with hot tap water from your sink, place the 2 Large Eggs into the bowl and set aside. Cut the cream cheese into small blocks, place it into a microwave safe bowl. Heat the cream cheese for 15 seconds, take it out, give it a stir than microwave for another 10 seconds then stir and check again – continue with 10 second increments until it’s very soft.

  • 3)

    Add 1 Cup of Sweetened Condensed Milk and 1 Teaspoon of Cornstarch to the bowl of cream cheese. Stir with a whisk until it’s smooth and there are no lumps. Add 2 Large Eggs, 1 Teaspoon Lemon Juice, and 2 Teaspoons of Vanilla Extract. Stir well with a whisk until the eggs are completely incorporated and the batter is smooth.

  • 4)

    Pour the batter into your cheesecake pan. Pick up the pan and tap it a few times on the counter to even out the batter and this also helps pop air bubbles in your batter.   Place a paper towel on top of the pan and wrap the entire pan very well & tightly with foil, you want to avoid getting any condensation or steam on your cheesecake.  I put one piece of foil on top and seal tightly,  then another on the bottom that wraps up towards the top.

    ***I use the Instant Pot brand Springform Pan that’s 7.5 inches in diameter and 2.75 inches high – there was about ½ inch of space left between the batter and the top of the pan, if you’re pan is shorter you may not be able to fit all the batter into the pan.

  • 5)

    Place 1½ Cups of water into the Instant Pot and place the trivet into it. Carefully place the the cheesecake pan on top of the trivet or use a Silicone Sling – (purchase here). If you have a separate sealing ring you use for desserts, place that one on the lid.  Seal the lid and switch the knob to “Sealing”.   Set the Instant Pot for High Pressure / Manual for 40 minutes. Once the timer is up and you hear the beep, wait 15 minutes, then switch the knob to “Venting” and when the pin drops open your lid. Carefully remove the cheesecake from the Instant Pot. Unwrap the foil, the pan will still be hot so use mitts or kitchen tongs.  Leave it on the counter to cool for about 1.5 hours. Cover the pan and place it into the refrigerator for at least 12 hours.

    ***OVEN METHOD: If you want to bake it: Preheat oven to 325°F. Wrap the bottom of your pan with foil so the crust doesn’t get soggy (you don’t need to wrap the top). Place the springform pan into a larger oven safe pan and pour boiling water into the pan about 1 inch high – the water should not go past the foil. Bake for 45-60 minutes or until the center is almost set. The center should be slightly jiggly. Leave it on the counter to cool for about 1.5 hours. Cover the pan and place it into the refrigerator for at least 12 hours.

  • 6)

    When you’re ready to serve, slowly release the springform pan, if it has any resistance or if you see the cheesecake start to crack, close the clasp again and run a sharp paring knife around it before releasing the pan. Use the reserved icing and squeeze out about half of the bag, use a spoon to spread it in an even layer over the top of the cheesecake. Decorate the cake with Yellow, Green & Purple Sanding Sugar. Enjoy!

↓ Supplies to make this recipe ↓


Leave a comment

Your email address will not be published. Required fields are marked *

Previous Recipe Next Recipe